Posts

Showing posts with the label mono-printing

Mono Printing at the Utah Quiltfest

Image
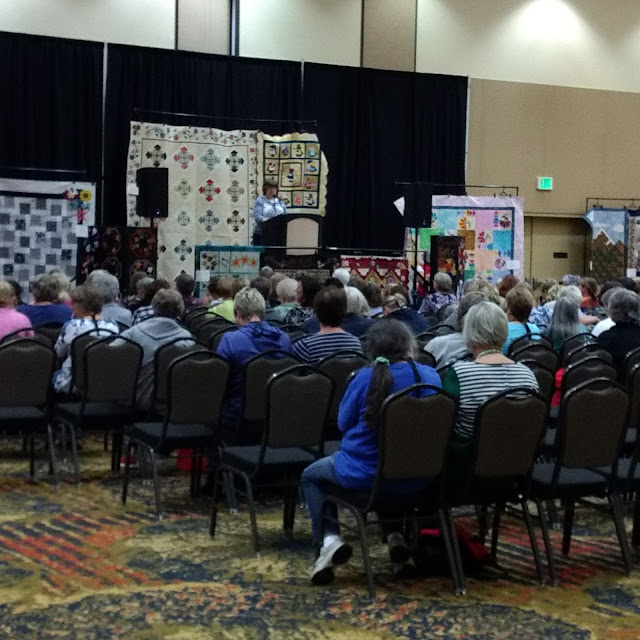
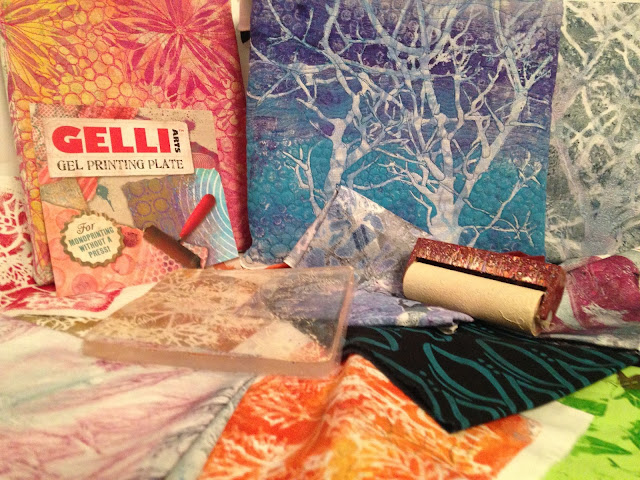
I flew home from New York on Monday, washed my clothes, and then packed up again to drive north 30 minutes to teach at the Utah Quilt Guild's Quiltfest.  The first night of Quiltfest is a Meet the Teacher's even followed by a speaker and demo's.     I was asked to demonstrate, and chose to show off mono-printing on fabric with hand carved stamps. A few of the pieces I made while demonstrating. I had fun creating and talking to people about stamping, monoprinting and teaching in their guilds.

Book Arts Drop In & Print

Image
The Book Arts Program at the University of Utah sponsors free workshops.  My friend, Dana Perez, introduced me to the program and I am in love!  My daughter and I went to our first Drop In workshop a couple of weeks ago and we had a grand time. First we went into the wet classroom and learned about Print Litho from  Allyn Hart .  We used black and white copied images that we covered in a liquid gum arabic.  The gum arabic acted as a resist.  We then rolled an oil paint over the image and the paint stuck to the copied image, allowing us to make a print of the image. There were a lot of people participating. Fun to see so many of all ages enjoying art! These are our prints and ghost prints: The two cleaner prints in the center are my daughters. Sigh.  She picked this up quickly. Next we went into the larger classroom and made . . . Gelli® prints! She really enjoyed trying out new things in her prints. ...

Demo Derby

Image
This months meeting at the Utah Surface Design Group was wonderful!  We had three demonstrations, each one just as wonderful as the last.  I got wrapped up in the first demonstration and forgot to pull out my camera until it was over.  I hate when I do that! Sally taught us how to make glue gun stencils and masks to use with painting and mono-printing.  These are a few glue gun stencils I made in the past, but I plan to make more especially because of three great tips Sally gave: 1.  Use a glue gun with a very small tip to get lovely fine lines.  The one she recommended is from Ad Tech  and can be used cool or hot.  It can also be used without the cord for about 5 minutes! 2. Once you draw out your design place a piece of parchment paper or a teflon craft sheet over the top of the creation to flatten the design.  A flat image is much easier to use as a mask! 3. Little blobs or circles of glue can be painted with nail polish and then glu...

Reverse Stamping on a Gelli® Print

Image
I recently ordered Lesley Riley's book Creative Lettering Workshop , and her Reverse Alphabet Stamps.   I desperately needed a play session and so I broke out the stamps, paints and Gelli® plates. These stamps create reverse letters, therefore if they will create backwards letters if used directly on paper, but when used in a transfer situation they come out perfectly forwards.  I really like how the individual stamps can connect together.  You can put them all together and store them in a big rectangle.  I still need to figure out a storage place for mine. I played around with some cardstock, inks and paints. The words on the pieces in the upper right are stenciled on after printing. I went a little crazy stamping about. Because the Gelli® plate is soft I tried to be careful with how hard I pressed the letters into the paint.  Too soft and the letter was barely there, and too hard and I got an imprint of the box around the letter....

Moonlight

Image
 I am working on a webinar class for Craft University  called Printing Fabric with a Gelli Plate .  The class will be broadcast live on July 29th, but if you aren't able to attend that day you can listen to it later! I used some of my class sample pieces to create this art quilt, which I have called: Moonlight . And yes the bottom is not squared up. I did that on purpose, just enough to drive me crazy. ;) I love the depth you can get from multiple layers on a Gelli® Print.  I'll show how to create prints like these on fabric, as well as teach about the kinds of paints, materials and mark making objects it takes to create a piece you will love. I hope to see you on the 29th!

Falling off the Earth

Image
I thought that once the Reclamation show was set up and off my plate I would be able to take a little time to catch up on blogging, however that doesn't seem to have been the case! If you only follow my blog you might think I have fallen off the earth.  But no, I am still here, working away. I have been working on getting things together for our guild's dye party in a couple of weeks, as well as putting together a Webinar titled: Printing Fabric with a Gelli Plate The webinar will take place on July 29th. Then of course there is the job of getting the teens here and there with one planning on moving out within the next couple of weeks.  When you are the parent of toddlers you always think they are going to be easier as teenagers when they can do things for themselves.  That is both true and false. Anyway. . . On Saturday, as I was driving my daughter home from work, we came across a yard sale that was closing up.  My daughter found lots of treasures: t...

Gell Print Cards

Image
I wanted to create a few cards and decided to use my Gelli® Plate , a few lovely found objects to create texture, and Strathmore Mixed Media paper .  I really like the weight of this paper (140 lb) and it will take layer after layer of paint! I used my 8x10" plate.  This is one of the simpler pieces. I then purchased a cd wrap pattern from the Silhouette Store.   I cut a few cards using this design and my Silhouette Portrait. I also played around with some pens on the design after I cut it out. Unfortunately I forgot to take a photo of the card I gave to my son, which I like a lot more than this one. I also bought another pattern called a  pentagon petal fold card ,  which folds up like this. . . These have become my new go to for gift cards and money.   I gave one to my sister for her birthday and one to my son for his graduation and they both really liked them.  I need to make more!