Swirly Whirly Twirly

Last week I posted my internal debate about where to go next with my free-form pieced block made from ice-dyed fabrics.
I decided I really liked the idea of adding some black frames to the piece but wasn't quite sure how I would do it.
I remembered seeing a demonstration on how to piece a circle into a square of fabric and wondered if I might be able to use the same principal to create the design I wanted.
First I used a square ruler to cut a square from the center:
Next I stitched a strip of black fabric around the square cut out, flipped the square around and then stitched the square back into the hole.  I have never stitched a Y seam and of course I wasn't smart enough to look up instructions on youtube BEFORE I stitched.  I just worked intuitively and miraculously it fit and lays flat too!  
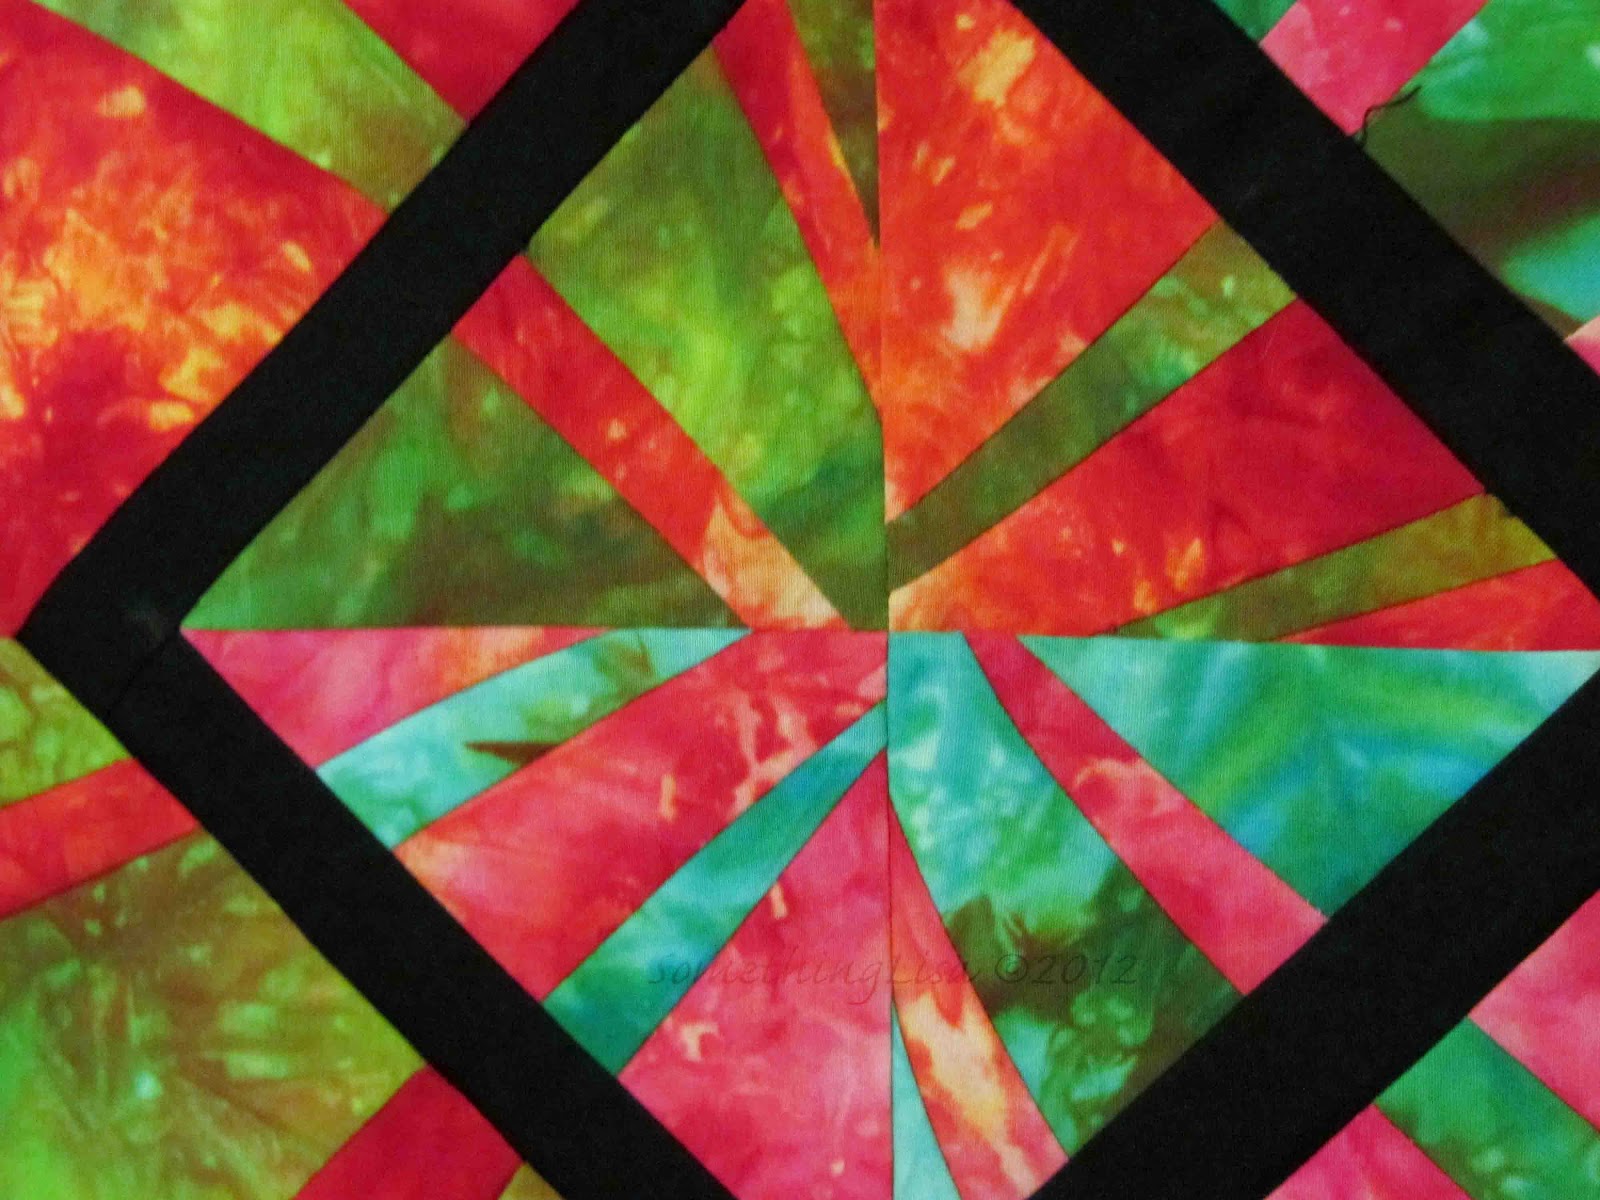
I then repeated the process for the next square and added a thicker black border around the outer edge:
I love how it turned out!
I'm thinking I need to make a few more of this pattern with my other ice dyed fabrics.
. . .But I must restrain myself and quilt this piece FIRST.
Making another one like it will be my reward for finishing this one.
The top is 37" square.
Any brilliant ideas on how to quilt it?
Lines? squiggles? circles? feathers?
Do I quilt the borders or leave them to pop out?
So many questions to answer before I quilt.
If you have answers to any of these questions please let me know in the comments section!

Comments

Sylvia said…
I think that you will want to stitch, close to the edge, of the black strips. Use black thread to mask it. It will help you stabilize the piece. While I was quilting the collob piece, I cquilted the black strips, maybe 1/16th inch in and it helped a lot!
Quilter Beth said…
I love how your piece turned out. I think you were VERY brave to cut into it like that. Sometimes it is at that point (the cutting into it) where I freeze up, and the piece ends up in a box for a really long time. I need to be more brave.
I, too, love this. And like Beth, I tend to freeze up at that point too!

I vowed to step out this year, and this project might be the way I do it.

glen
Nina Marie said…
Its amazing what a little neutral color will do to anchor a piece! Elizabeth Barton once told me that I really do need to use more neutrals in every piece I do so now I make it a rule. That said - I would FMQ nice wavy echoing lines radiating from the center - stitch in the ditch the black thin line - and not heavily quilting the outer border. There has been a move in the last few years to quilt heavily pieces but I find that way too flat for my tastes. I mean why work in fabric if you're going to flatten the heck out of it?!

Still I struggle with quilting lines too so I'm never sure if my ideas are right!
Unknown said…
I also like the way this piece looks, defined by the black fabric. What about a spiraling circle coming out from the center to accent the whirling design?
wholly jeanne said…
It was a striking piece before, but you added that black, and POW. It's stunning. I have no idea what to suggest about quilting, though. Look forward to seeing what you decide to do.
Anonymous said…
I loved how you started the piece last week, and adding the neutral color makes it pop even more. Thanks for sharing!
Marilyn said…
Someone on QA prints photos of their quilt and draws the various quilting options on them to help choose. Maybe that woul dhelp you on this one. It is lovely. I am amazed at the difference the black squares make. I would not have thought of that.
Wow - I don't have much to add to what others have written. The black adds so much, and bravo for taking the leap to cut into your top. As far as heavy quilting goes, some of that is driven by judging. I made the quilt at http://dippydye.blogspot.com/2009/12/quilt-for-lancaster-almost-done.html to show off my hand-dyed Radiance, and wanted only the black quilted, so the colored patches would pop. The judging form said they would like to see the colored patches quilted too.

Popular posts from this blog

Gelli Plate Tutorial with Leaves

Autumn is for the Birds

Giveaway Day!