Bunny Paper - Alphabet Transfer
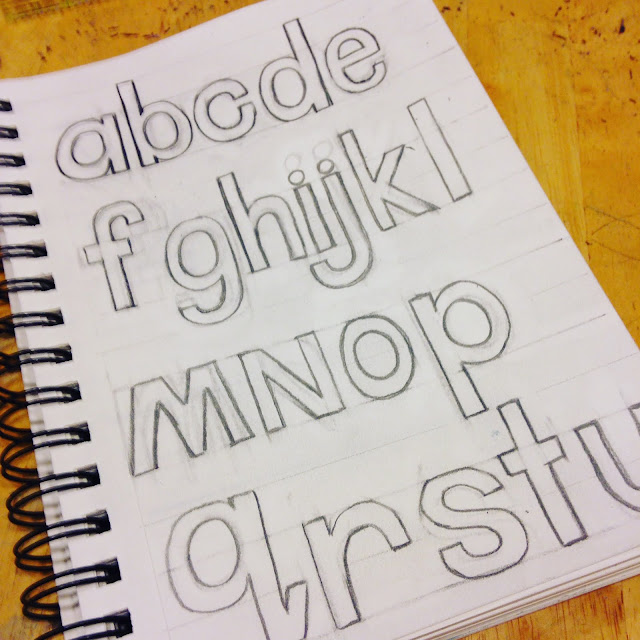
I am in the middle of #carvedecember. Thirty one days of carving a stamp (or two) everyday of the month. I decided I wanted to carve my own alphabet. I lost track of time the other night drawing a very simple alphabet.
When I started thinking about how I would transfer the letters onto the Speedy Carve I immediately wondered if I could use the Bunny Paper from Mistyfuse to do the job.
I scanned the alphabet into the computer and printed it onto the shiny side of the Bunny Paper. I used the fast mode on my Brother Ink Jet printer so there wasn't much ink. I worried that maybe it wouldn't work.
But it did!
All I had to do was lay the Bunny Paper on top of the Speedy Carve and rub!
The biggest issue I had was in getting the lettering lined up so that I didn't waste any of the Speedy Carve. I was able to remove the transfer from the Speedy Carve, as well as the Bunny Paper with a wet paper towel. I was also able to put the Bunny Paper through the printer a second time after it had been wiped clean. I finally decided the best solution was to slice off a smaller piece of Speedy carve and lay it on top of the letters I wanted to transfer and then flip it over to rub the lettering on.
Success!
Next time I need to use the Bunny Paper with fabric!


Comments